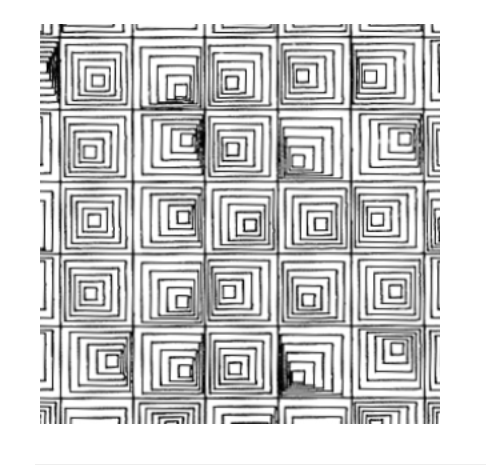
I wanted to create something aesthetically appealing and minimalist with my self-portrait. When Aaron mentioned this project, I thought of the illustration I make every time I create cards/letters:
I wanted to create something along these lines, but not the same illustration with the flowers on my eyes. I wanted to incorporate my glasses, as I believe that is an essential part of my outer appearance. I wanted to create the same style of my hand-illustrated face, which has minimalist shapes to demonstrate complex parts of my face, such as the simple curves that represent my cupid-shaped lips. Hence, I used the line and arc tool plenty of times. Figuring out a minimalist shape for my nose and mouth was much harder to think of digitally than it is when I hand illustrate it. I wanted my lips to be shaped differently, something distinct from the stereotypical happy/neutral emotion. The arc tool was incredibly difficult to use, but it was a satisfying challenge.
I wanted to make the project interactive. A way I thought of doing this was having a bubble gum expand from my mouth once it is clicked. Once it fills the screen, it would pop and return back to its normal size. This was incredibly difficult to code. Although I got the bubble to expand once it was clicked on, I was not able to make the bubble return back to its normal size. Because I was coming back late from break, I suspected I wouldn’t have enough time to fix the issue, so I decided to go ahead with an non-interactive design. I wanted to show the bubble gum code on this post, however my laptop got re-imaged and I lost the code as I didn’t back it up.
It was also extremely difficult to create hair. I wanted to illustrate long hair in strands (as seen on my hand illustration), but wasn’t sure how to go about it. Hence, I decided to go for the high-bun look and have a bandana, as simply an ellipse shape on top of my head did not look natural.
I also found it interesting that the lines and arcs in Processing are not vector-images. They have a colored background, for instance the arc had a white rectangular background. I am not sure how effective that is when creating an art project, but it was nonetheless an interesting discovery. I wonder why it isn’t a vector image.
I actually really enjoyed using Processing to create artwork. This was my favorite project yet this semester.
Code for my project:
void setup(){
  size(480,640);
  frameRate(5);
}

float radius;

void draw(){
  background(0, 0, 0);

  fill(0);
  stroke(255);
  ellipse(240,325,730,800);
  stroke(255);
  ellipse(240,325,630,700);
  stroke(255);
  ellipse(240,325,530,600);
  stroke(255);
  ellipse(240,325,430,500);
  stroke(255);
  ellipse(240,325,330,400);
  stroke(255);
  ellipse(240,325,230,300);


  fill(255);
  stroke(0);
  ellipse(240,200, 150, 190);

  fill(255);
  ellipse(115,350, 50, 80);

  fill(255);
  ellipse(365,350, 50, 80);

  fill(0);
  ellipse(100,370,5,5);

  fill(0);
  ellipse(100,370,5,5);

  fill(0);
  ellipse(379,370,5,5);


  fill(random(0, 204), random(0, 255), random(0, 255));
  ellipse(240,330,275,350); //x,y,w,h


  fill(255);
  ellipse(240,360,275,350); //x,y,w,h
  fill(random(0, 255), random(0, 255), random(0, 255));
  ellipse(300,340,75,75); //glasses 1
  fill(random(0, 255), random(0, 255), random(0, 255));
  ellipse(180,340,75,75); //glasses 2
  line(216, 340, 264, 340); //middle portion of glasses
  line(104, 340, 141, 340); //side portion of glasses
  line(336, 340, 375, 340); //side portion of glasses

fill(255);
stroke(0);
arc(240, 410, 50, 35, PI, PI+QUARTER_PI);
arc(225, 410, 20, 20, HALF_PI, PI);

arc(270, 450, 170, 50, HALF_PI, PI);
arc(170, 440, 50, 35, PI, PI+QUARTER_PI);

arc(260, 485, 100, 10, HALF_PI, PI);
arc(260, 470, 50, 30, PI+QUARTER_PI, TWO_PI);
arc(210, 460, 60, 30, PI+QUARTER_PI, TWO_PI);

fill(0);
ellipse(225, 410, 3, 3);

//fill(0);
//stroke(255);
//ellipse(240,150,115,130);

stroke(0);
line(257, 410, 255, 380);

}


