Perhaps one way in which drumming could become more fun is to provide some lights to accompany the beat. That was the intention of my project. I decided to make a foot pedal that would make lights go on when pressed down.
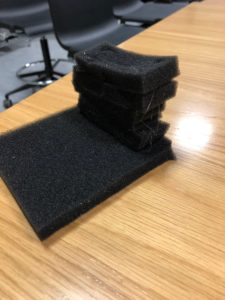
After scavenging in the junk shelf, I started off with gathering some sponges that would allow for not only the compression part during the pressing down of the pedal but also allow for pedal board to bounce back.

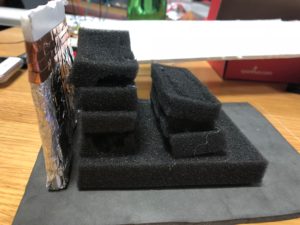
I then glued the sponges onto a padding that had a surface that had more grip to allow the structure not to slide during the stepping of the pedal.

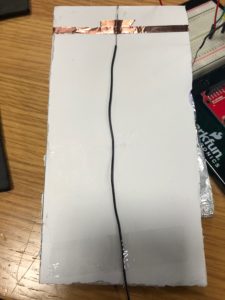
I decided that the easiest way for me to create a pedal that would switch on the lights when pressed on is when, when the pedal is in neutral position, there is nothing there to conduct electricity. I realised that for me to have a surface that had a section that could be an insulator and a larger section that would act as a conductor, I would need to use something like a styrofoam board where I would cover the larger section with a conductor. I marked 1.5 cm off the top of a styrofoam board and covered the larger section with aluminium foil. To make sure it stays and to cover with another layer of conductor, I applied some copper tape on top of the aluminium.

I then stuck the board onto the grip surface like Figure 4 shows below.

For the circuit and the switch to work, I needed to stick a piece of wire to the back of the board of the pedal so that when stepped on, the tip of the wire would connect with the conductive elements of the backboard as seen in figure 3 and 4. Figure 5 below shows this process.

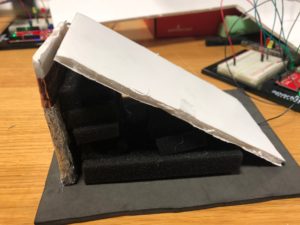
Figure 6 shows the side view after sticking the pedal board onto the grip surface. I made sure to leave some space between the backboard and the pedal board so that when stepped on, the surfaces wouldn’t get stuck as easily.

Figure 7 shows the final result of the pedal. I cut out some more styrofoam boards to fit onto the two sides so that the sponges inside are enclosed and so that the overall look of the pedal is more structured. As well, not pictured here, but one more wire was taped to the back of the backboard so that the circuit is closed.

The finished product is shown in the video below! Now you can have lights to accompany your drum beat!
P.S. Not seen in the pictures but I made sure to measure the dimensions of the styrofoam boards so that they would piece together nicely. The gluing together of the boards and of the sponges were done through the use of a hot glue gun.
